This is my second post today - please scroll down to view my entry for the Indigo Blue Spring Flowers challenge.
I thought that I would start by showing you an Easter egg that I decorated several years ago, shortly after I first started stamping. I wanted to decorate an actual egg, so I started by pricking a small hole in the top and bottom of an egg so that I could empty it by blowing the contents into a bowl. You can just make out the small hole in the top of the egg in the first photo.
The second photo shows the hole in the bottom of the egg, which was slightly larger to allow the contents to be removed. Please excuse the quality of the photos as the sun was reflecting off the surface of the egg.
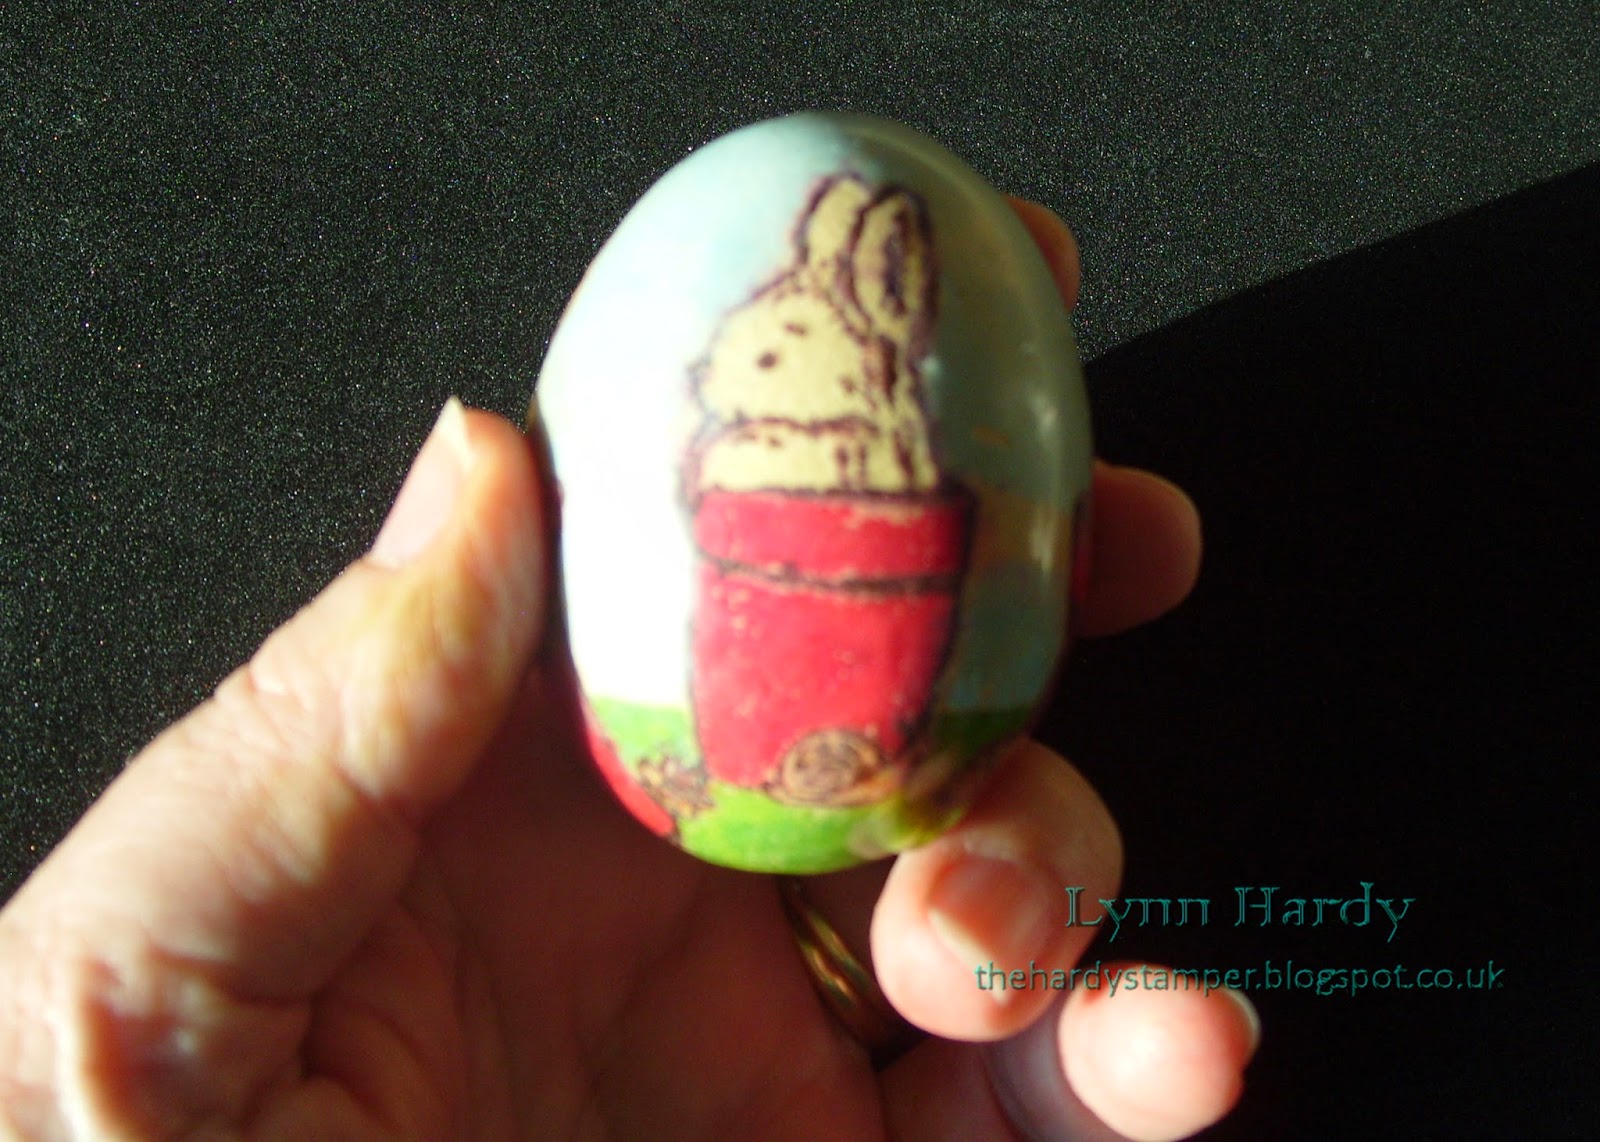
Once the egg was empty and I had washed it out and dried it, I was able to stamp four cute bunny images from a Penny Black stamp onto the eggshell. This is the back of the egg, with the little bunny hiding in a flowerpot. I coloured the egg using a combination of inkpads and markers.
This is the left side of the egg.
And here is the other side.
The front, showing a very surprised looking bunny! Once the inks had thoroughly dried I coated the whole thing with versamark ink and covered it with clear embossing powder. I held the egg by putting a skewer into the hole in the bottom, then carefully heated the embossing powder until it had all melted. I repeated this until I had a clear protective coating all over the egg. It was difficult to get it smooth underneath as I had to handle it with care whilst it was hot and try not to drop and break it!
Considering that I hadn't been stamping very long, I was pleased with the results. If I was to do this again, I don't think I'd use embossing powder, but rather use a clear spray varnish or some Glossy Accents.
Now on to this week's Cure For The Monday Blues challenge on Taheerah Atchia's blog here - http://littlemisst-papercraft.blogspot.com/2014/04/cure-for-monday-blues-challenge-13.html . The inspiration photo this week shows an Easter table set with lots of white bunnies and neon eggs.
Source: Pinterest
I started with a 4" x 6" white card blank and decided to dry emboss the front of it using a Spellbinders M-Bossabilities Lovely Lattice embossing folder (Side A, ES - 009), to mimic the embroidered pattern on the white tablecloth in the inspiration photo above. I found the perfect bunny stamp to use on the Waltzingmouse L'il Buddies stamp set http://www.waltzingmousestamps.com/products/lil-buddies and the sentiment was also from the same set. I used some green and white bakers twine at the top of my card, imitating the stripey drinking straws in the photo.
I used the smallest of the Spellbinders egg dies to cut some bright pink and green eggs, which I stuck in a row on the bottom of the card. They fitted perfectly inside the diamond shapes on the background!
Click on photo to enlarge.
I needed something to make my white bunny stand out against the white card background so, using the stripey bottles in the photo as a guide, I stuck four stripes of white, pale pink, neon pink and bright yellow card to a scrap of white card then die cut an egg shape from it with a larger Spellbinders egg die. This was added to the card front with foam pads for dimension.
I stamped the little bunny onto white card three times, coloured his inner ears and nose pale pink with a Copic Ciao marker and cut out the stamped images. I added a neon pink bow and decoupaged the bunny onto the stripey egg with foam pads. You can see the extra dimension that this gave in the photo below.
The final touch was a pink carnation from Wild Orchid and four small leaves from a Spellbinders tiny foliage die set, which I added to the base of the egg shape as a nod to the vase of pink carnations in the inspiration photo.
This card was so much fun to make and I can't wait to see what Taheerah has planned for next week!
I would also like to enter this card into the Cupcake Inspirations challenge # 257 where the theme this week is "Bunnies".
You can check it out here http://cupcakeinspirations.blogspot.co.uk/2014/04/challenge-257.html .
Thanks for looking!


Your decorated Easter egg is wonderful! You have so much patience but it definitely shows...awesome project.
ReplyDeleteI love how you were inspired by the photo! Such a fun striped egg and LOVE all the pops of color!
Thanks for playing with us at Cure for the Monday Blues - hoppy eggstravaganza!
adorable egg...your card is just the cutest...thanks for sharing at cupcake inspirations
ReplyDeleteTina
sweetie dt
What a super fun bunny card! Love your Easter egg how-to! Thanks so much for sharing at Cupcake Inspirations!
ReplyDeleteHugs,
Debbie
Okay, so first of all - that egg, *mindblowing*. Seriously impressed!!
ReplyDeleteNow onto your card. :-) As always, the level of detail and the effort and time you put into your cards totally shines through! I especially love that striped egg mimicking the bottles and I am kinda partial to that adorable little bunny too! Thanks so much for playing to find a Cure For The Monday Blues!